Setting up web push notifications
This guide will give you the resources and information you need to enable push notifications in your web application.
Anything developers build on ChatKitty needs to be associated with a ChatKitty project. If this is your first time creating a ChatKitty project, checkout our step-by-step getting started guide, which will walk you through creating your ChatKitty project.
For the purposes of this guide, we will use a skeleton React App along with ChatKitty and Firebase to setup web push notifications. An example of this can be viewed here.
Setting up your web app
In our app, we need to add the dependencies needed to enable push notifications. This includes Firebase Cloud Messaging, ChatKitty, and Bootstrap for certain React UI components.
We can do so with the following command:
- npm
- Yarn
- pnpm
npm install firebase react-bootstrap bootstrap @chatkitty/core
yarn add firebase react-bootstrap bootstrap @chatkitty/core
pnpm add firebase react-bootstrap bootstrap @chatkitty/core
In app push notification using bootstrap
In src/App.js, add the following:
import logo from './logo.svg';
import './App.css';
import {useState} from 'react';
import {Button, Row, Col, Toast} from 'react-bootstrap';
import 'bootstrap/dist/css/bootstrap.min.css';

function App() {

  const [show, setShow] = useState(false);
  return (
    <div className="App">
        <Toast onClose={() => setShow(false)} show={show} delay={3000} autohide animation style={{
          position: 'absolute',
          top: 20,
          right: 20,
        }}>
          <Toast.Header>
            <img
              src="holder.js/20x20?text=%20"
              className="rounded mr-2"
              alt=""
            />
            <strong className="mr-auto">Notification</strong>
            <small>12 mins ago</small>
          </Toast.Header>
          <Toast.Body>There are some new updates that you might love!</Toast.Body>
        </Toast>
      <header className="App-header">
        <img src={logo} className="App-logo" alt="logo" />
        <Button onClick={() => setShow(true)}>Show Toast</Button>
      </header>
    </div>
}
Here we have imported Boostrap into app.js to create a toast notification in our app. When the "Show Toast" button is clicked, a toast notification appears that automatically hides after 3s.
Now that we have created a toast notification, let's move on to push notifications.
Using Firebase
We will be using Firebase as our push notification provider, so make sure you have a Firebase account.
Once you have an account and have logged in, go to the Firebase console
Creating and setting up a Firebase project
If you already have a Firebase project, you can skip this step. If not, follow this.
In the Firebase console, click on "Add Project". There are 3 steps to create a project:
- Give your project a name.
- Enable or Disable Google analytics based on your preference
- Click create project and wait till your project is ready.
Once the project is ready and you click continue, you will be redirected to the project home screen. Here you will be asked to add an app to get started. As we are setting up web push notifications, click on the web icon under your project name.
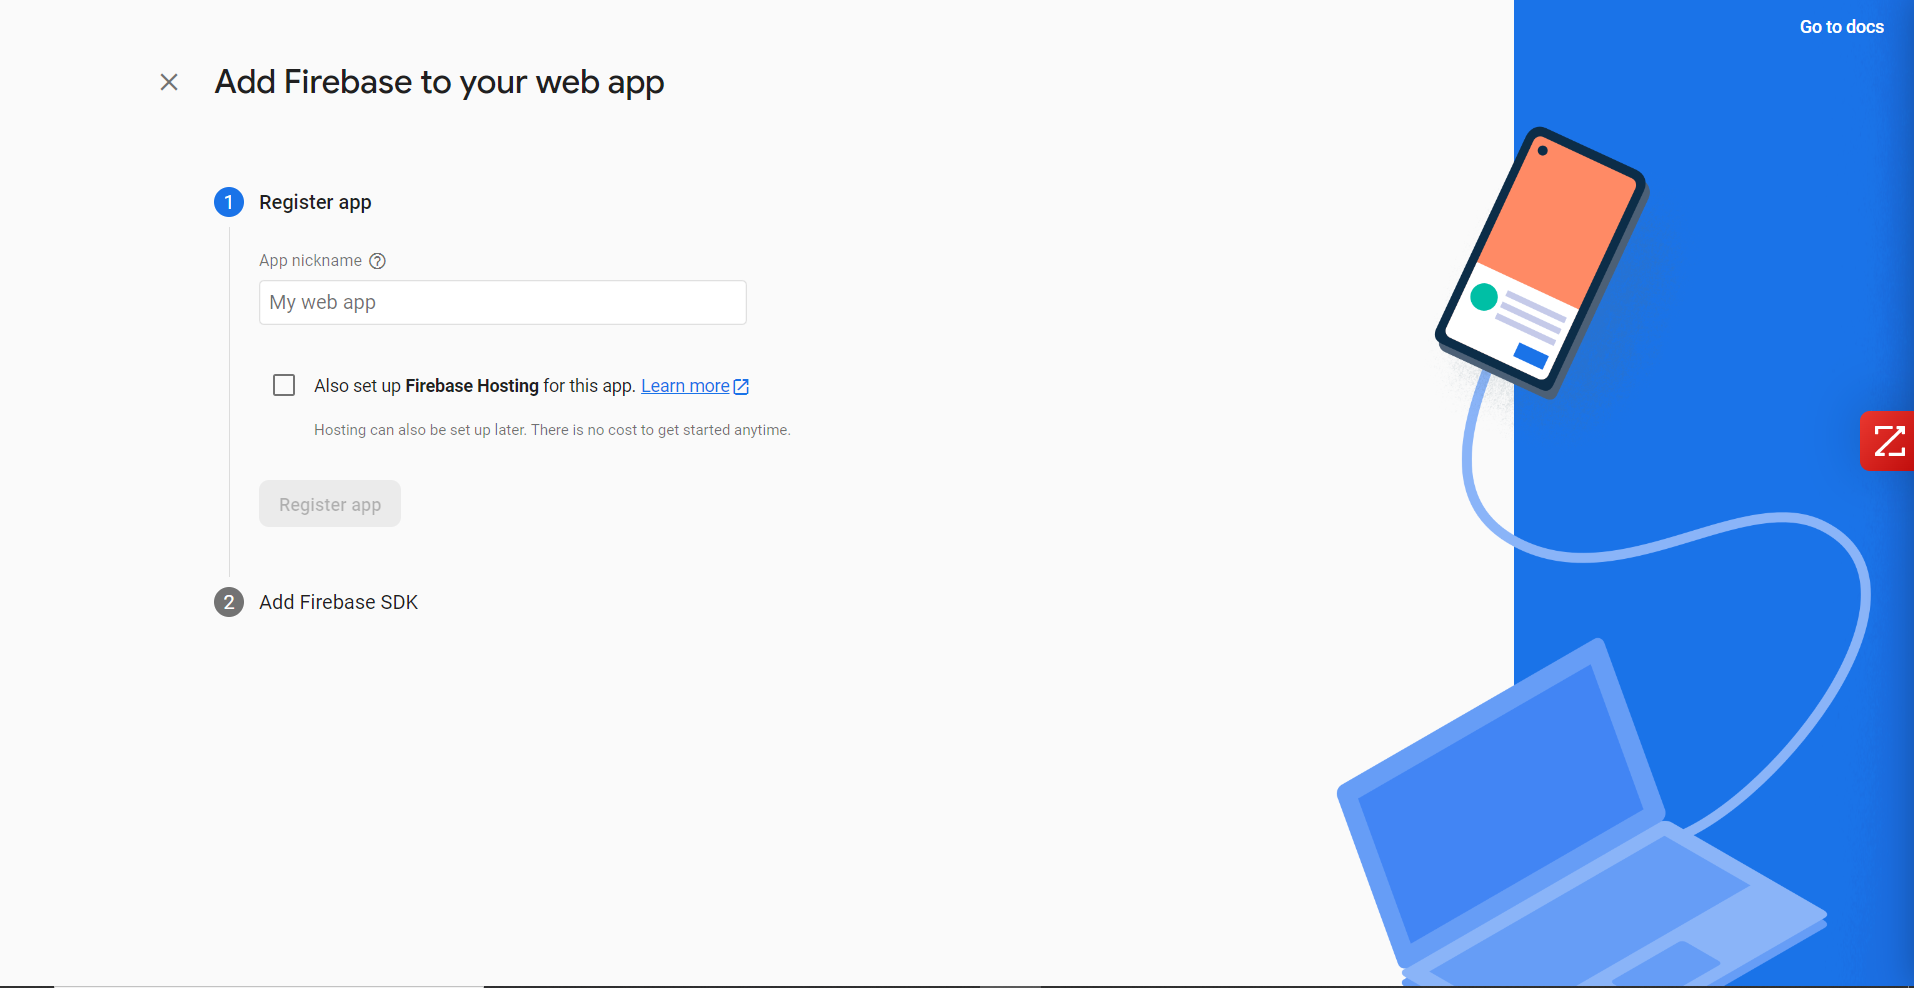
You will then be taken to the "Add Firebase to your web app" page. Assign a nickname to your React app and click the "Register app" button.
You should now see the config under "Add Firebase SDK" which will allow us to link our React App to our Firebase project. This code will be added to our project.
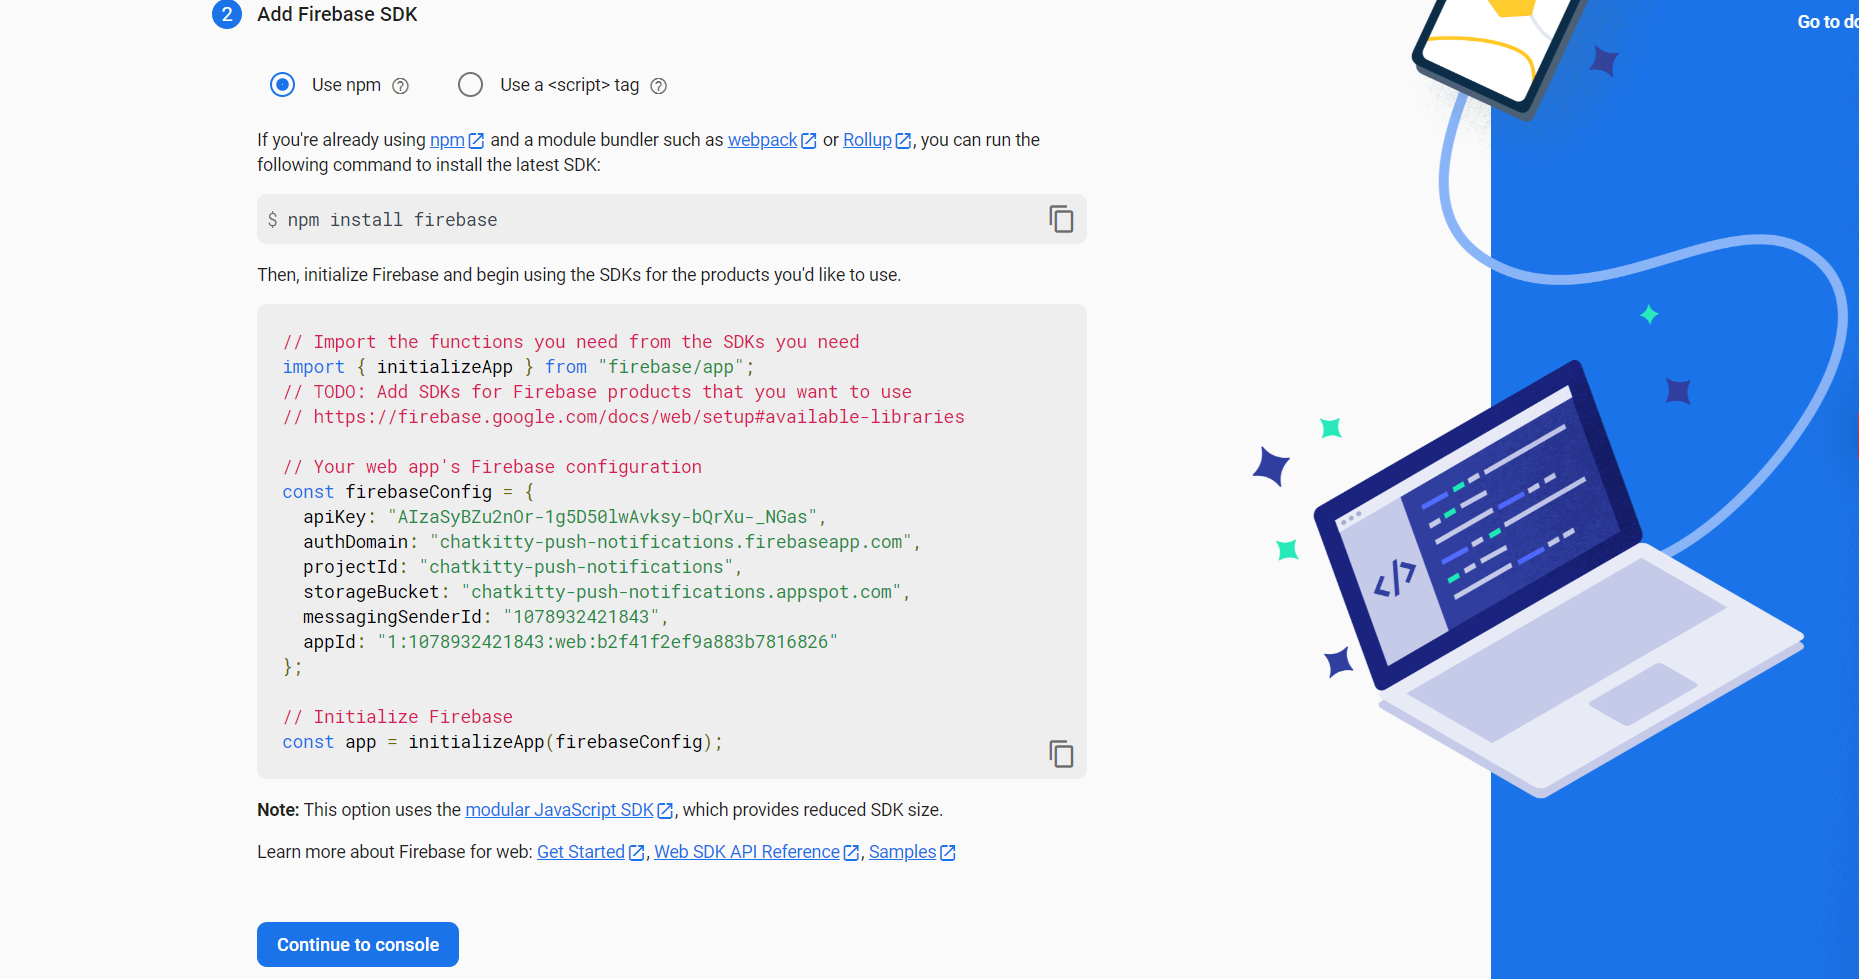
We will do so after we set up the ChatKitty Dashboard as well.
Setting Up ChatKitty dashboard
After you have created a ChatKitty project, you can add runtimes and create chat functions to help handle different events. To do so, go to the ChatKitty Dashboard.
Adding Firebase as chat runtime dependency
From the ChatKitty application dashboard, go to the "Functions" page. Then, go to the Runtime tab and add the firebase-admin NPM package as a Chat Runtime dependency.
Remember to click the "save" icon to confirm your changes.
Configuring firebase-admin on ChatKitty dashboard
Next, we have to initialize the Firebase Admin SDK to use it inside our Chat Functions.
From the "Runtime" tab, click the drop-down and select "Initialization Script". You can import NPM modules into your Chat Runtime using the CommonJS require function.
Import the Firebase Admin NPM module and initialize Firebase
using a Firebase Service Account Key
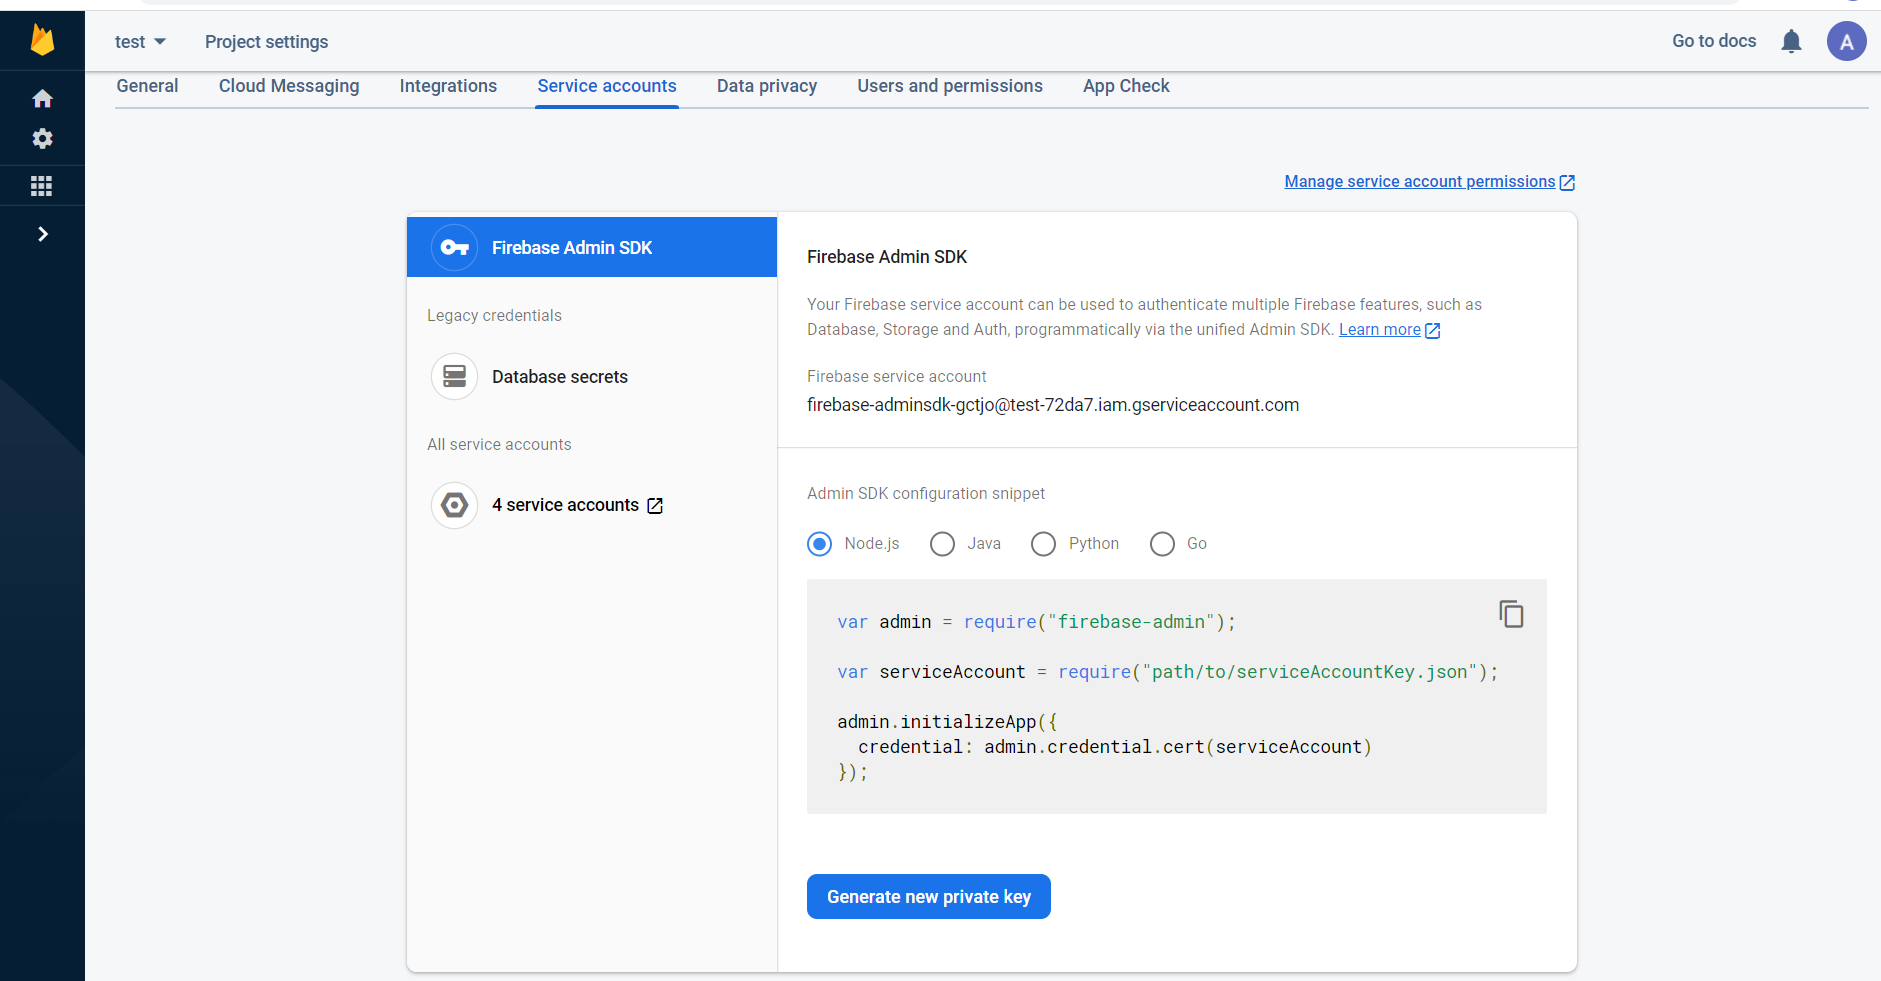
for your project. To retrieve a Service Account Key, go to your Firebase project and then go to the "Service Account" tab. From here you can click on "Generate Private Key" to retrieve the serviceAccount object.
Then, add the following along with your own private service account key into the Initialization Script:
const admin = require("firebase-admin");

const serviceAccount = {
  /* your credentials here */
};

admin.initializeApp({
    credential: admin.credential.cert(serviceAccount)
});
Creating user received notification function
Next, we will update the logic in the User Received Notification function to send received notification data as a push notification using Firebase.
From your ChatKitty application dashboard, click and go to the "Functions" page from the sidebar. Here on the Chat Functions tab, select User Received Notification from the dropdown menu.
First, import the firebase-admin dependency using common JS require function.
const firebase = require('firebase-admin');
Then, add this code to the userReceivedNotification chat function:
 async function handleEvent(event: UserReceivedNotificationEvent, context: Context) {
    const properties: any = event.user.properties;

    if(!event.notification.muted && properties.firebaseToken) {
        await firebase.messaging().send({
            notification: { title: event.notification.title, body: event.notification.body },
            data: {},
            token: properties.firebaseToken,
        });
    }
}
Now that we have set up the ChatKitty Dashboard and created a Firebase project, we can add both to our React App.
Linking Firebase and ChatKitty to your app
Now that we have our Firebase project and our ChatKitty dashboard set up, we can link both to our app.
Importing Firebase SDK
First, create a new file in src called firebase.js. Then, let's import firebase to link it to our app. Also, let's add the config generated earlier in our firebase project.
import { initializeApp } from 'firebase/app';

const firebaseConfig = {
  apiKey: "YOUR_API_KEY",
  authDomain: "YOUR_AUTH_DOMAIN",
  projectId: "YOUR_PROJECT_ID",
  storageBucket: "YOUR_STORAGE_BUCKET",
  messagingSenderId: "YOUR_MESSAGING_SENDER_ID",
  appId: "YOUR_APP_ID"
};

initializeApp(firebaseConfig);
Remember to replace the firebaseConfig with your config information.
Importing ChatKitty SDK
Next, let's link ChatKitty to our app.
First add a file called chatkitty.js to src. Then, add the following to the file:
import ChatKitty from '@chatkitty/core';
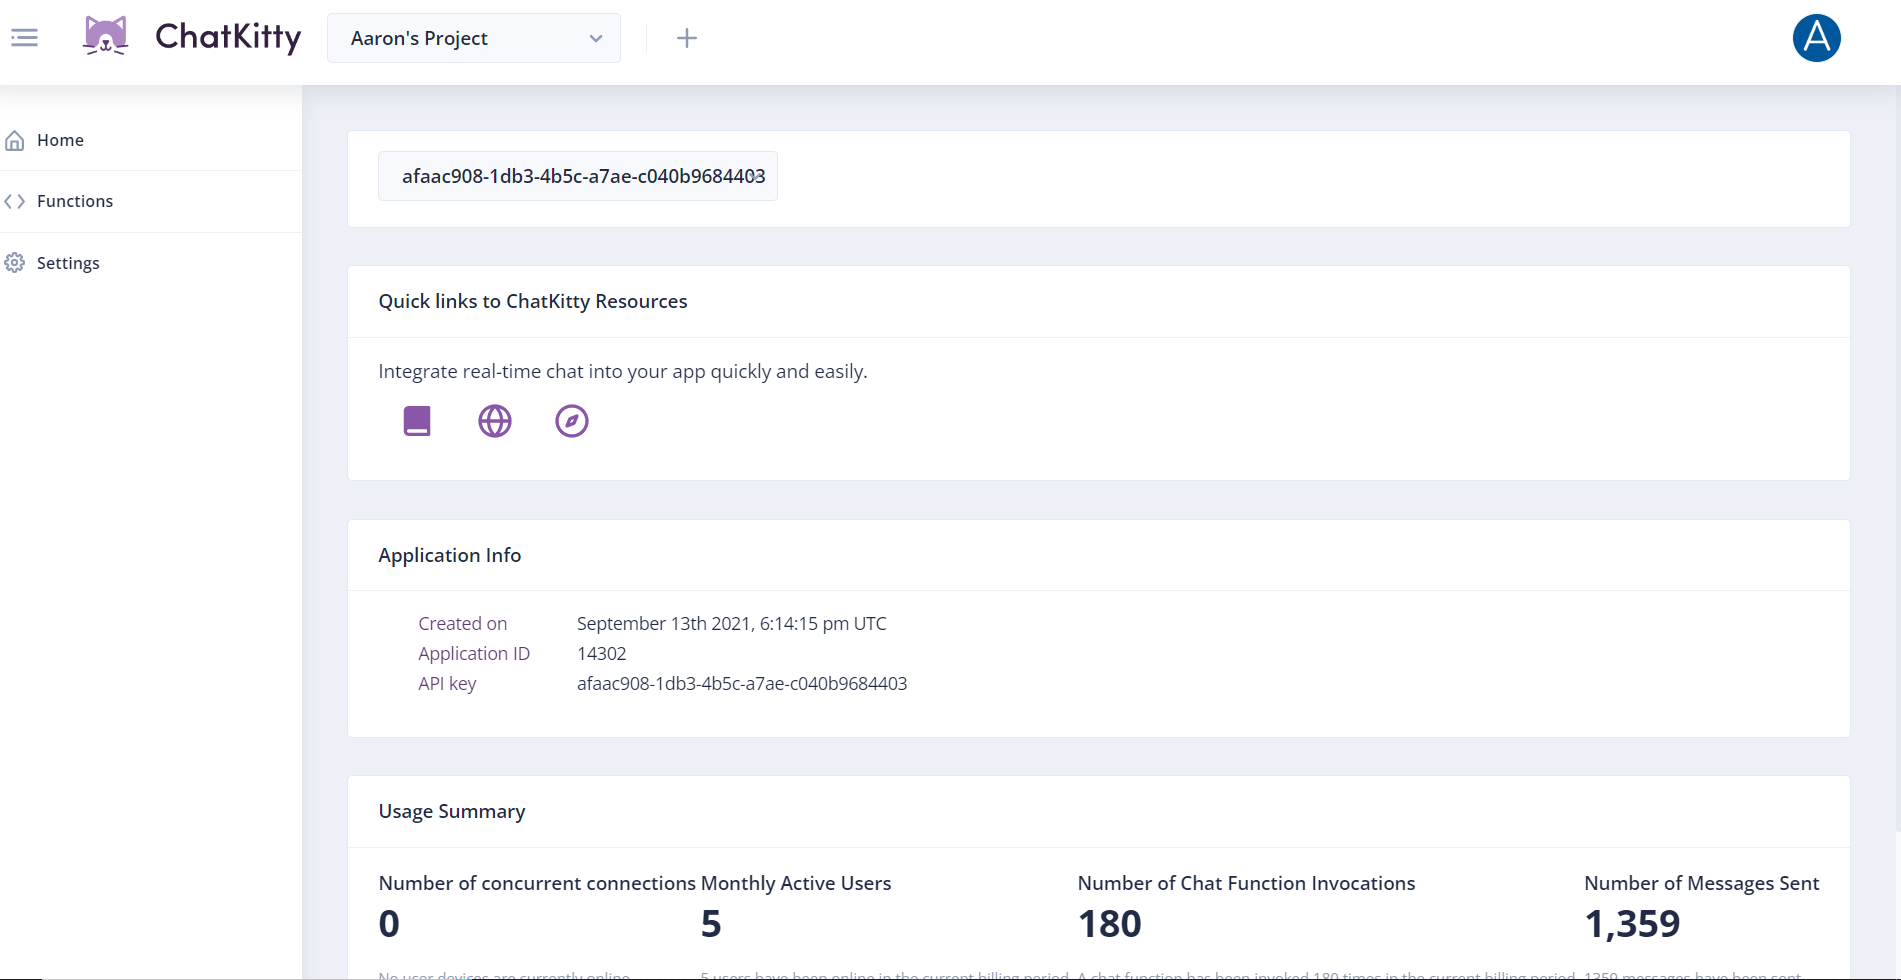
const chatkitty = ChatKitty.getInstance('YOUR_CHATKITTY_PROJECT_API_KEY');
export default chatkitty;
Replace the API key with your own API Key for your ChatKitty project from the ChatKitty dashboard.
Using Firebase Cloud Messaging
Next, we use Firebase Cloud Messaging.
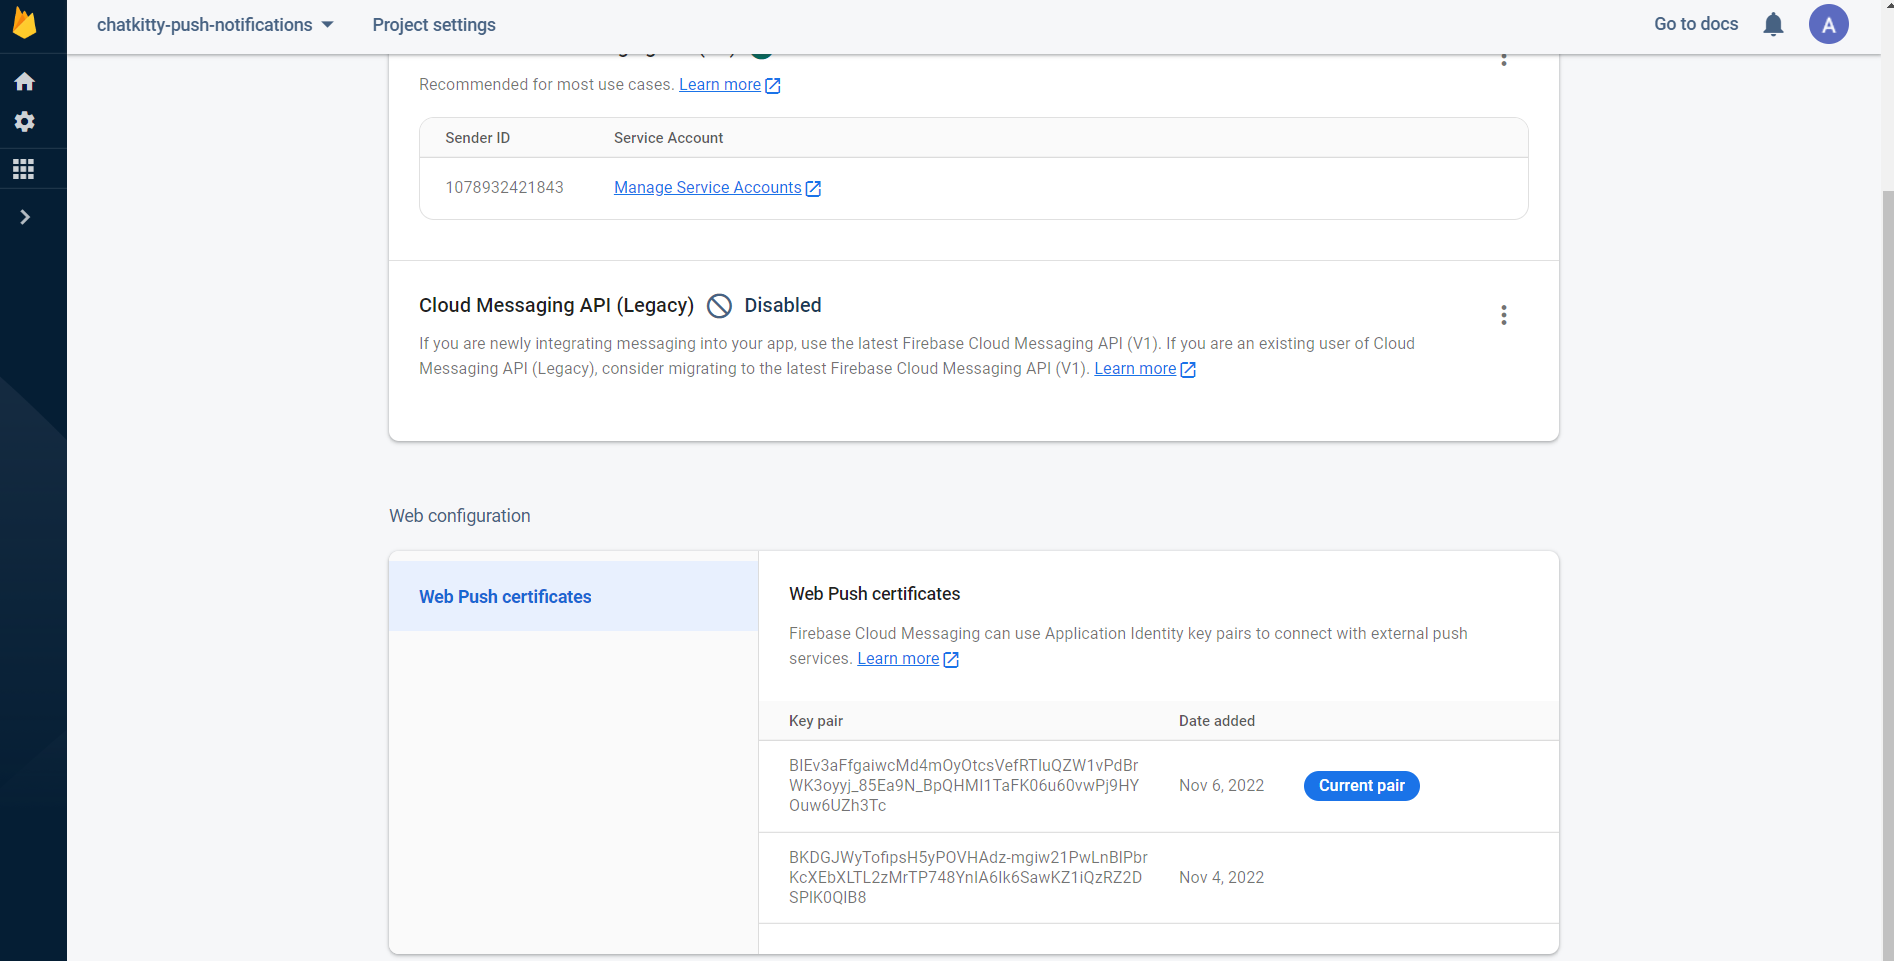
Navigate to Project Settings for your project from the Firebase console. Then, go to the "Cloud Messaging" tab and scroll to the "Web Configuration" section.
Under Web Push Certificates, click generate key. There will now be a key under "Key Pair" in the table.
Now, let's enable messaging in our app. Go back to the firebase.js file created earlier and add the following:
import { getMessaging, fetchToken, onMessage } from "firebase/messaging";
We can now access the messaging object from the firebase object:
const firebaseApp = initializeApp(firebaseConfig);
const messaging = getMessaging(firebaseApp);
Registering user and enabling notification permissions
In order to be able to send push notifications to the browser, we need to get permission from the user.
The getToken method provided by Firebase allows us to do so. It results in a popup asking user to enable notifications on a site.
Before adding the getToken function, we will add a variable to the state of the App.js file which will keep track of whether we have access to the notifications:
const [isTokenFound, setTokenFound] = useState(false);
getToken(setTokenFound);
// also add this inside the jsx being returned:
{isTokenFound &&
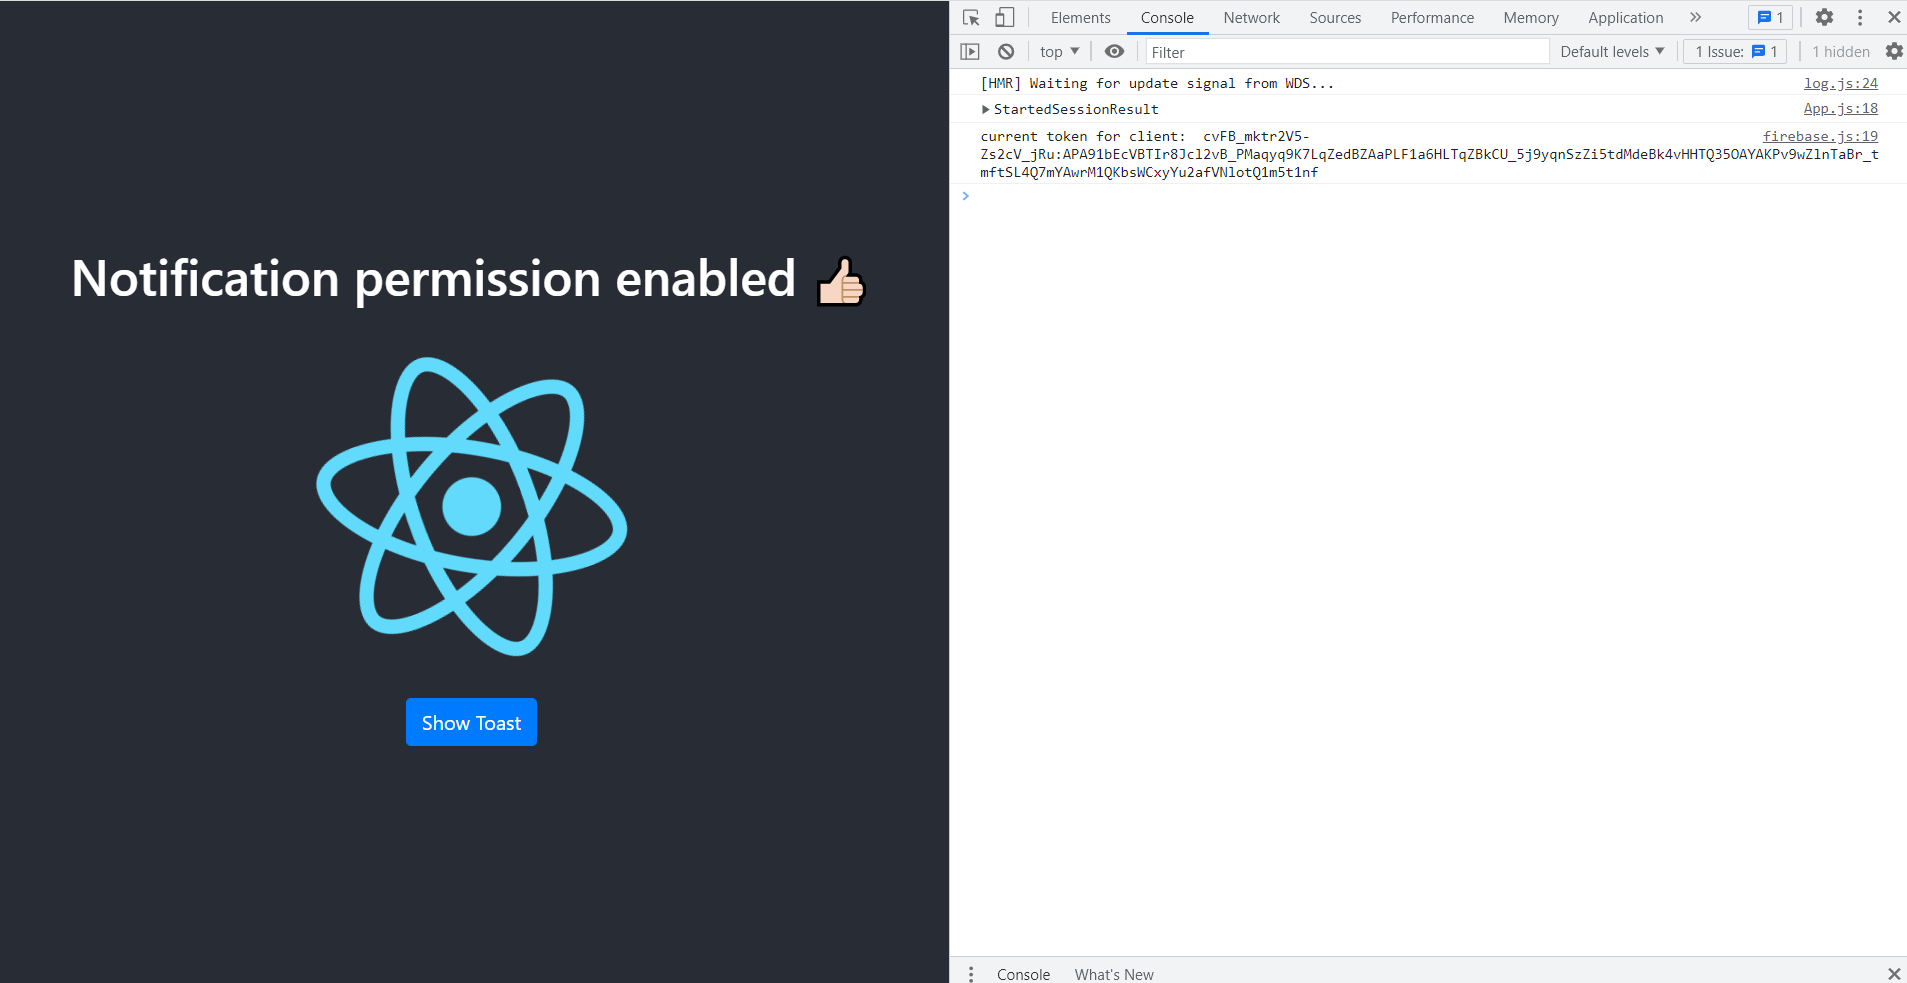
Notification permission enabled 👍🏻
}
{!isTokenFound &&
Need notification permission ❗️
}
Now, add the getToken function to our firebase.js file:
export const fetchToken = (setTokenFound) => {
  return getToken(messaging, {vapidKey: 'GENERATED_MESSAGING_KEY'}).then((currentToken) => {
    if (currentToken) {
      console.log('current token for client: ', currentToken);
      setTokenFound(true);
      // Track the token -> client mapping, by sending to backend server
      // show on the UI that permission is secured
    } else {
      console.log('No registration token available. Request permission to generate one.');
      setTokenFound(false);
      // shows on the UI that permission is required
    }
  }).catch((err) => {
    console.log('An error occurred while retrieving token. ', err);
    // catch error while creating client token
  });
Replace vapidKey with the key generated earlier under "Web Push Certificates" on the "Cloud Messaging" tab of your Firebase project.
If you save and run the app now, you will notice a popup that requests permission to show notifications:
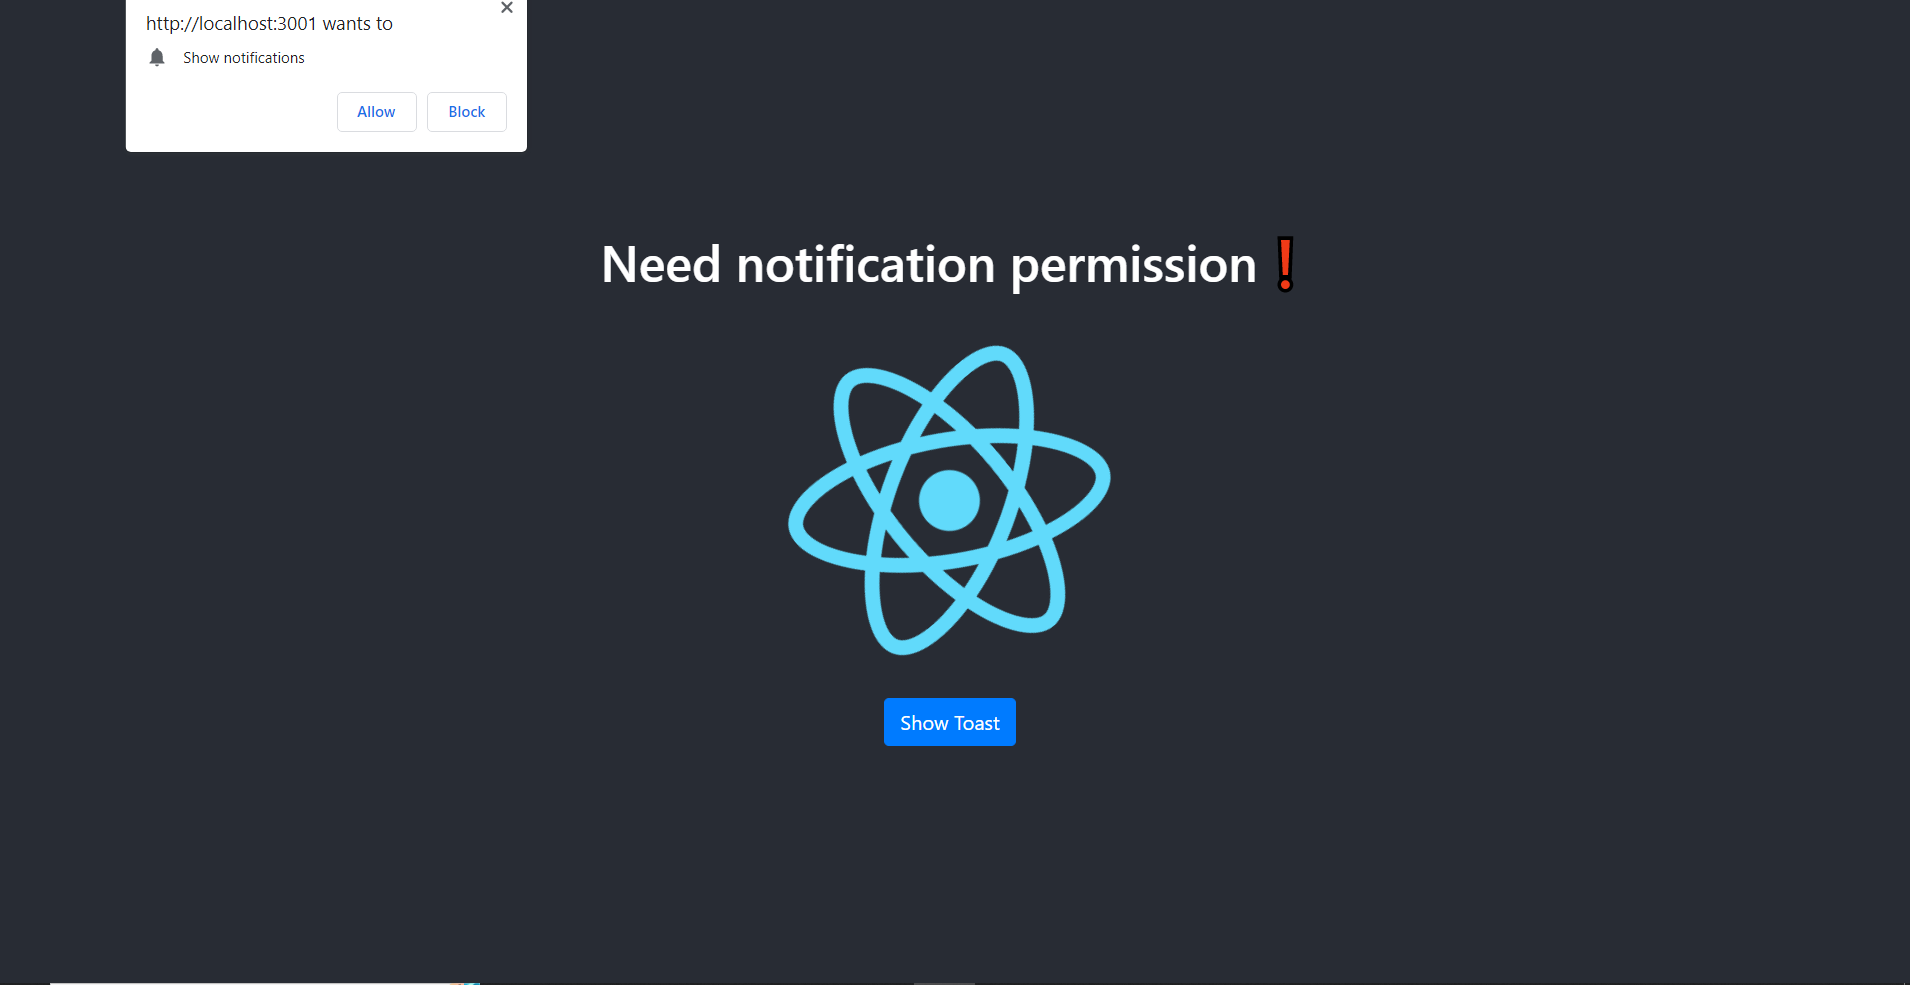
When the getToken method is supplied with the messaging object, it displays the popup asking for notification permission and waits for user input. When the user allows, it assigns a unique token to the client that can be seen in the console:
Adding message listeners
Now that we have registered a client token that we have access to and have enable notification permissions, our next step is to add message listeners.
First, we need to add a listener to the push notification that is incoming to the client.
To do that, add a firebase-messaging-sw.js service worker file in the public folder of our app. Then, add the following code to the file:
// Scripts for firebase and firebase messaging
importScripts('https://www.gstatic.com/firebasejs/9.0.0/firebase-app-compat.js');
importScripts('https://www.gstatic.com/firebasejs/9.0.0/firebase-messaging-compat.js');

// Initialize the Firebase app in the service worker by passing the generated config
const firebaseConfig = {
  apiKey: "YOUR_API_KEY",
  authDomain: "YOUR_AUTH_DOMAIN",
  projectId: "YOUR_PROJECT_ID",
  storageBucket: "YOUR_STORAGE_BUCKET",
  messagingSenderId: "YOUR_MESSAGING_SENDER_ID",
  appId: "YOUR_APP_ID"
};

firebase.initializeApp(firebaseConfig);

// Retrieve firebase messaging
const messaging = firebase.messaging();

messaging.onBackgroundMessage(function(payload) {
  console.log('Received background message ', payload);
  self.registration.hideNotification();
});
Remember to replace the firebaseConfig with your own as we did in the firebase.js file earlier.
This code will handle the notifications that reach our application while it is running in the background (or not currently in use).
We also want to add a listener that takes care of notifications when the app is in the foreground or active. To do so, add the following to the firebase.js file:
export const onMessageListener = () =>
  new Promise((resolve) => {
    onMessage(messaging, (payload) => {
      resolve(payload);
    });
});
We will then need to import this function in app.js. We will also import chatkitty from chatkitty.js now so that we can initialize and reference the ChatKitty user.
import { fetchToken, onMessageListener } from './firebase';
import chatkitty from "./chatkitty.js";
Let's also add the logic needed to create the notification out of the parsed payload. This will look like this:
function App() {

  const [show, setShow] = useState(false);
  const [notification, setNotification] = useState({ title: '', body: '' });
  const [isTokenFound, setTokenFound] = useState(false);

  const initialize = async () => {
    const result = await chatkitty.startSession({ username: /* user's credentials */ });

    console.log(result);

    fetchToken(setTokenFound, async (token) => {
      await chatkitty.updateCurrentUser((user) => {
        user.properties = {
          ...user.properties,
          firebaseToken: token
        };
        return user;
      })
    }, () => { console.log("permission required") }, (err) => { console.log("an error occured: ", err) });
  }

  useEffect(() => {
    initialize().then();
  }, [])

  onMessageListener().then(payload => {
    setNotification({ title: payload.notification.title, body: payload.notification.body })
    setShow(true);
    console.log(payload);
  }).catch(err => console.log('failed: ', err));

  const onShowNotificationClicked = () => {
    setNotification({ title: "Notification", body: "This is a test notification" })
    setShow(true);
  }

  return (
    <div className="App">
      <Toast onClose={() => setShow(false)} show={show} delay={3000} autohide animation style={{
        position: 'absolute',
        top: 20,
        right: 20,
        minWidth: 200
      }}>
        <Toast.Header>
          <img
            src="holder.js/20x20?text=%20"
            className="rounded mr-2"
            alt=""
          />
          <strong className="mr-auto">{notification.title}</strong>
          <small>just now</small>
        </Toast.Header>
        <Toast.Body>{notification.body}</Toast.Body>
      </Toast>
      <header className="App-header">
        {isTokenFound && <h1> Notification permission enabled 👍🏻 </h1>}
        {!isTokenFound && <h1> Need notification permission ❗️ </h1>}
        <img src={logo} className="App-logo" alt="logo" />
        <Button onClick={() => onShowNotificationClicked()}>Show Toast</Button>
      </header>

    </div>
  );
}
Testing push notifications on our web app
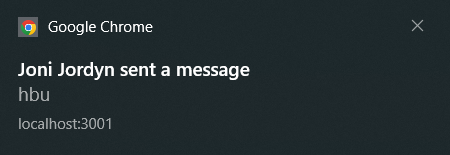
We can now test whether our notifications are functional by triggering a push notification. You should be able to receive notifications from the browser now. You can also test this both while a user is online and offline to test whether the background and foreground listeners work.